How to Identify Gemstones at Home: A Beginner's Guide to Loupe, Streak and Hardness Tests
Learn how a jeweller's loupe, a streak plate and simple hardness tests can help you identify common gemstones at home — and where their limits lie.
Most gemstone identification happens in a laboratory, but a surprising amount of it happens at a kitchen table with three inexpensive tools. A jeweller's loupe, an unglazed porcelain streak plate and a handful of hardness references will let you sort quartz from glass, hematite from pyrite, and azurite from a dyed imitation. You will not get a valuation out of them, and they will not catch every treated or lab-grown stone. What they will do is teach you how to look — which is the part that actually matters.
First, learn to use a jeweller's loupe properly
A 10x triplet loupe is the standard for a reason. The magnification is enough to see inclusions and facet edges, the field of view is still usable, and the triplet lens corrects most of the colour distortion you get with cheap single lenses. Skip the 30x and 60x bargain loupes; they magnify your own handshake more than the stone.
Technique counts for more than the lens. Hold the loupe close to your eye, brace your hands against each other or rest your elbows on the table, then bring the stone to the loupe rather than the loupe to the stone. A small torch held to the side, or a dark-field torch behind the stone, will make internal features appear that flat overhead light hides.
Here is a routine that takes about a minute per stone:
- Clean the stone with a lint-free cloth and a breath of warm air. Grease hides everything.
- Examine the surface first. Scratches, chips and rounded, abraded facet edges suggest a softer material such as glass.
- Look at where facets meet. Sharp, crisp junctions usually mean a harder stone; slightly worn ones often point to glass or cubic zirconia.
- Turn the stone over and look through the table facet with side lighting for inclusions.
- Rotate it through four or five positions. One view is never enough.
- Write down what you see. Memory is unreliable after the fifth stone.
What are you looking for? Rounded single bubbles and swirling, curved striae indicate glass. Natural stones tend to show crystals, needles, clouds, feathers or colour zoning — patches of uneven colour, common in tourmaline and sapphire. Some stones, such as zircon and peridot, show strong doubling of the back facets when viewed through the table, a useful clue.
The streak test: powder never lies
The streak test sounds crude because it is. You rub the specimen across unglazed porcelain and look at the colour of the powder left behind. The reason it works so well is that a mineral's powdered colour is far more consistent than the colour of the lump in your hand — hematite can look silver, black or earthy red, but its streak is always reddish brown.
Keep a few reference streaks in mind:
- Hematite: reddish brown
- Pyrite: greenish black
- Chalcopyrite: greenish black, slightly greener than pyrite
- Azurite: light blue
- Malachite: pale green
- Sulphur: pale yellow
Now the limitation. Unglazed porcelain sits around 6.5 to 7 on the Mohs scale, so anything harder leaves no streak at all — and may scratch your plate instead. Quartz, beryl, tourmaline, corundum and diamond are all in that category. For faceted gems, the streak test is effectively useless and potentially destructive: never drag a polished stone across the plate. Use a rough fragment, a broken piece, or nothing at all.
A no-streak result is information, not failure. It tells you the stone is harder than the plate.
Hardness tests without damaging the stone
Hardness testing works by comparison. The Mohs scale runs from 1 (talc) to 10 (diamond), and you only need a few fixed points to place a mystery stone in a range. Useful everyday references: a fingernail is about 2.5, a copper coin about 3.5, a steel knife blade and window glass both around 5.5, a steel file about 6.5, and a quartz crystal a solid 7.
How to test with care
- Choose an inconspicuous spot — the base of a rough crystal, an unpolished underside. Never a facet.
- Hold the reference point at a shallow angle and draw it once, away from you, with light pressure.
- Then reverse the test: does the stone scratch the reference?
- Repeat in a second direction. Some minerals, such as kyanite, are noticeably harder one way than another.
- Clean the spot and check it with the loupe before deciding.
Two firm rules. First, do not hardness test a stone that is set in jewellery: you risk the claws, the setting and neighbouring stones. Second, do not do it at all on anything valuable or sentimental. Hardness testing leaves marks by design, and it cannot distinguish a natural ruby from a synthetic one anyway.
Remember, too, that hardness is not toughness. Diamond is the hardest mineral known, yet it chips and cleaves readily if knocked at the wrong angle. A soft stone is not automatically fragile, and a hard one is not automatically safe in a ring.
Putting the three tests together
No single test identifies a gemstone. The skill is in combining them and eliminating possibilities.
Take a colourless, transparent stone that scratches glass, leaves no streak and, under the loupe, shows sharp facet edges and no bubbles. Glass would be softer than the plate and would usually show rounded edges or bubbles, so quartz becomes the sensible answer. A metallic, brass-yellow rough specimen that leaves a greenish-black streak points to pyrite, while a similar-looking brownish one with a reddish-brown streak is hematite. Blue rough material that leaves a light blue streak and yields to a knife blade is almost certainly azurite.
What home testing cannot tell you
Three tools will not distinguish natural from synthetic corundum, detect glass filling in a ruby, spot beryllium treatment in sapphire or identify a lab-grown diamond. Those calls need a refractometer, a polariscope, a spectroscope and a microscope in trained hands, along with a good deal of experience. If money, insurance or a family heirloom is involved, take the stone to a qualified gemmologist — someone trained to Gem-A or equivalent standard. It is a small fee against a costly mistake.
Build a small reference kit and practise
Collect known specimens so you always have a comparison to hand: a quartz crystal, a piece of milky quartz, a scrap of window glass, an old cubic zirconia, a copper coin, a steel file, a knife, an unglazed tile from a hardware shop, and an inexpensive 10x loupe. Add a notebook with one page per stone, listing streak, hardness result and what you saw under magnification.
Then run blind tests. Put ten stones in a bowl, pick one at random, and work through the routine without looking at the label. Ten minutes, twice a week, will teach you more than any book. You will start recognising the soft, slightly greasy look of glass, the crisp junctions of quartz, and the tell-tale reddish smear of hematite. That is real progress — and it costs you almost nothing.
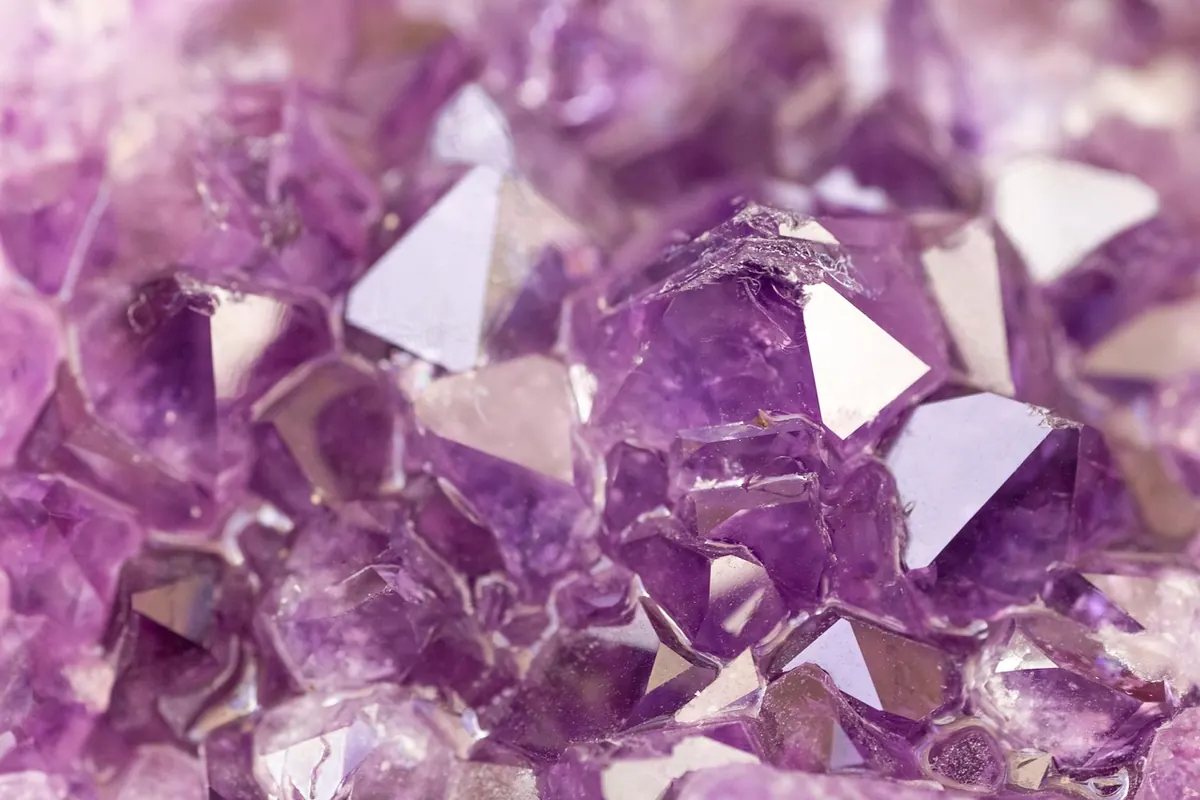
Photo: Silberfuchs / Pixabay